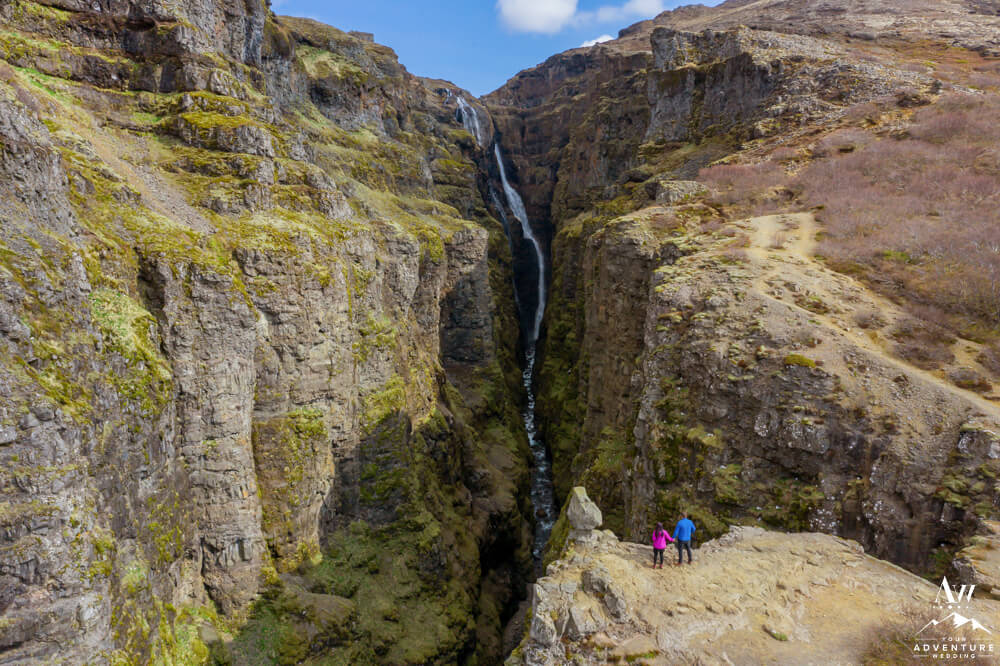
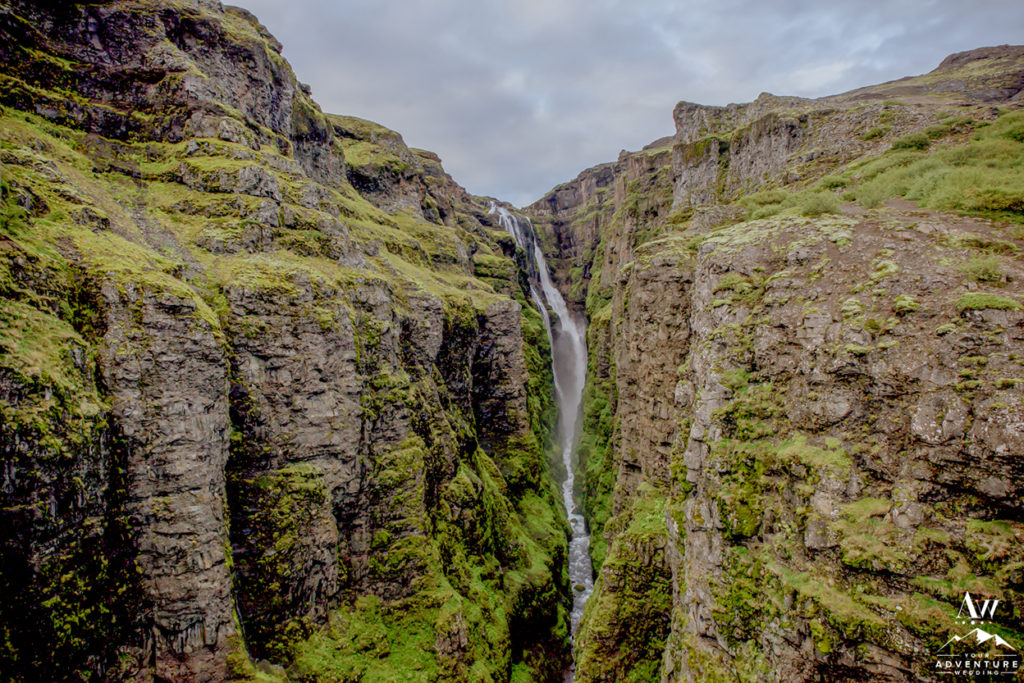
Nothing compares to spending the morning hiking to a new place with the one you love and adore. Especially if you get the opportunity to do it in Iceland. Imagine, trekking through a small Icelandic forest, up a mountain with stunning fjord views, seeing the local birds nest, and experiencing one of the tallest waterfalls in Iceland… Without a doubt, a hike to Glymur Waterfall will not disappoint! Come along with us today as we share a step by step guide.
Tall Waterfalls in Iceland
When you make your travel plans to a new country, do you seek out the tallest waterfalls the place has to offer? You’re in luck because Iceland has many tall waterfalls! However, sadly you will not be available to view the tallest one which resides at a tricky side of one of Iceland’s 13 glaciers. It’s name is Morsárfoss and it stands 787 feet tall. But don’t fret, because the second tallest is ready for you to hike it!
Next, Glymur Waterfall is 643 feet tall. The direct translation of the name, Glymur is “noisy / clang.” And believe it or not there is a unique story that comes along with why the waterfall has that name. To illustrate, it involves an elf woman, a baby, a curse that changes a man into a whale, a few deaths, a mountain lake, and an explosion!
Furthermore, as a bonus the third tallest waterfall (419 feet tall) is actually one we previously gave directions on how to hike… Remember Hengifoss Waterfall in East Iceland?
Glymur Waterfall Driving Directions
From the heart of downtown Reykjavík, you will need to drive a bit over an hour to Hvalfjörður (whale fjord). Within this fjord village, you will find the hike starting point of Glymur Waterfall. Be aware you will be hiking through private property so please be respectful and leave the area better than when you hiked through it.
While on the way to Glymur, you will pass by 2 waterfalls on the way. Firstly, you’ll pass by Fossa and then very close to the turn off for the parking lot to the waterfall hike another unnamed one. Worth a quick stop to stretch your legs before embarking on the hike.
GLYMUR WATERFALL HIKE INFORMATION:
- Height of Glymur: 643 feet tall
- Vehicle Needed: Any can get you to the carpark.
- Directions to Parking Lot: Google Map
- Hiking Distance: 4.5 – 5 mile Hike (loop)
- Trekking Time: 3-6 hours (out and back) depending on pace, photo stops, and how close you want to get to Glymur Waterfall.
- Skill Level: Moderate to Difficult in parts (straight up the mountain).
- Elevation: 1,395 feet
- Terrain: Stairs, loose gravel; dirt / mud (when wet); multiple river crossings by foot and small the large very rocky paths.
- Special Note: It is a well marked trail and best done between mid May to mid September.
- Leave No Trace Policy: Please explore new places responsibly (keep hold of your own trash and pick up any you find).
-
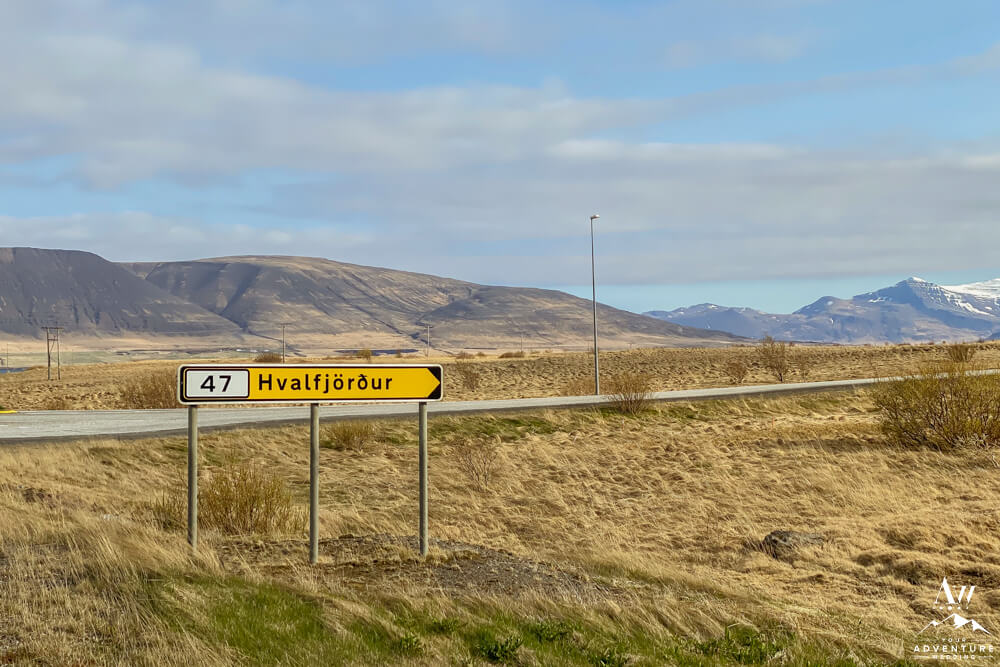
- Turn off for Hvalfjörður
-
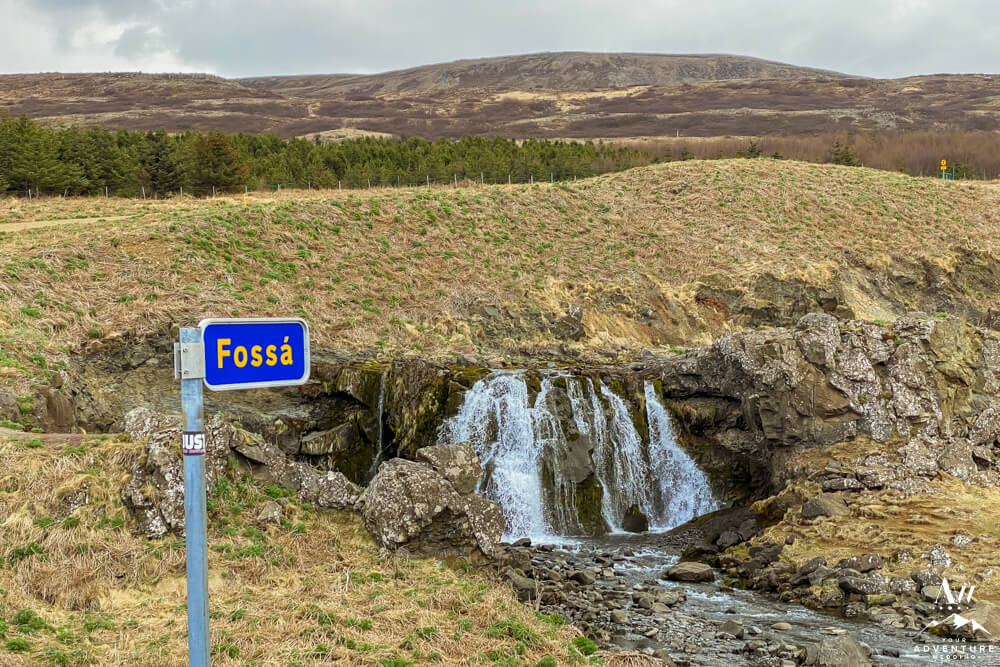
- Fossa Waterfall on the way to Glymur
-

- Unnamed waterfall before the turn off
-

- Turn off for Glymur Parking Lot
-

- No camping is allowed near to Glymur
-

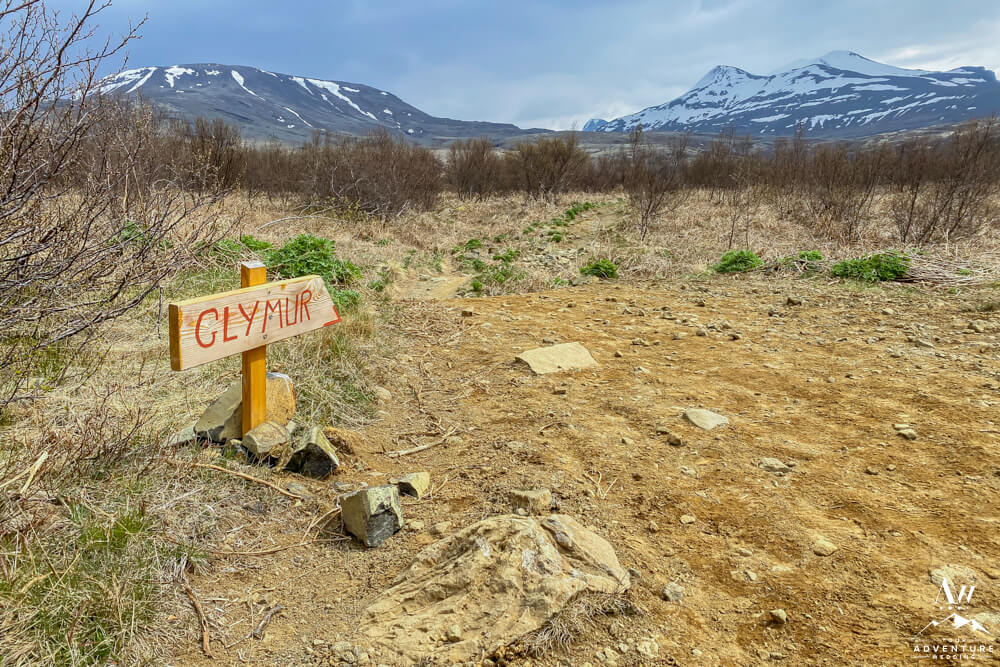
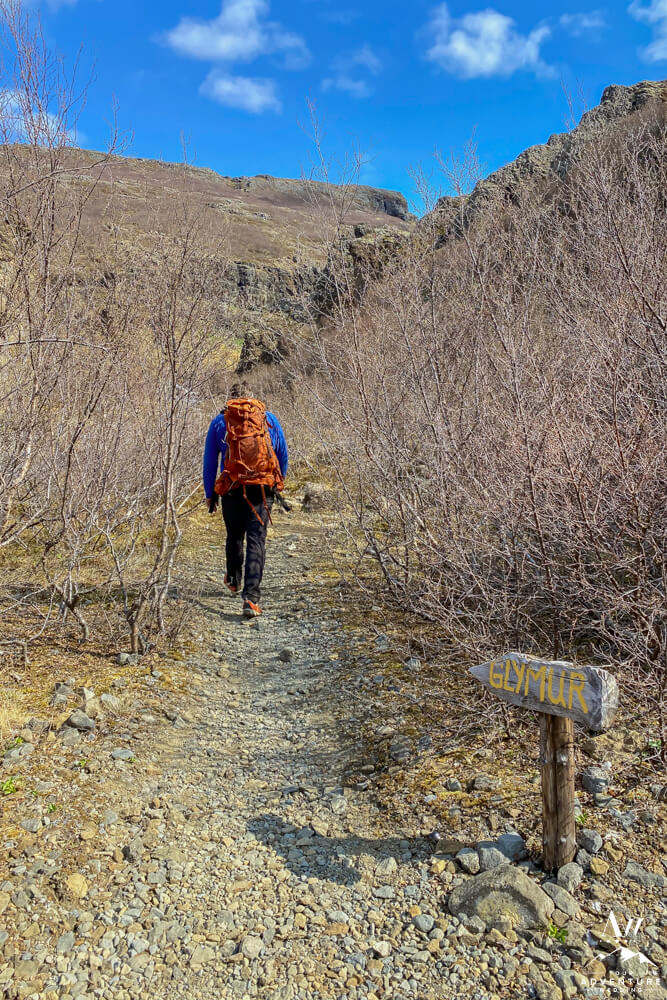
- Glymur Parking Lot Sign
-

- Sign at Glymur Parking Lot
-

- Gate Sign at Glymur Waterfall Parking Lot
Prepare for your Trek
Any hike more than 30-60 minutes one way, it is advantageous to prepare for it. Why? Because who knows what could happen! Firstly, check the weather before you venture out. Secondly, here is a short list of things to consider bringing should you choose to embark on the hike to Glymur Waterfall.
- Day Pack or Backpack.
- Water Bottle (there are many places along the way to refill).
- Dress in layers.
- Have rain / wind gear with you.
- Wear hiking boots if possible (grip can be challenging in parts).
- Bring trekking poles if you’re an unsteady hiker.
- Pack a lunch / dinner. After all who doesn’t want to have a picnic at the top?!
- Bring your camera and or drone!

Guide to Hiking to Glymur
Woot woot! Are you ready to conquer Iceland’s 2nd tallest waterfall? Let’s do this thing!!
First, please have a long look at the map to hiking Glymur Waterfall before you embark. Second, we hiked Trail #1 up and Trail #3 down as a point of reference. But doing the loop trails, you will need to do a river crossing fully by foot (no bridge, log, or rocks). Third, most folks just hike the main trail (Trail #1) in and back out. Fourth, you’ll see yellow circles below highlighting the important points on the main trail. For example, their specific follow below for ease of reference:
Glymur Hiking Map Points:
- Point #1: Parking lot.
- Point #2: Þvottahellir Cave (multiple openings).
- Point #3: River Crossing (where the log is during summertime).
- Point #4: First Waterfall & 360 View Point Lookout. Note- This is often the point people turn around if not going the full loop.
- Point #5: Natural Platform Viewpoint.
- Point #6: Final Waterfall Viewpoint.
- Point #7: Open River Crossing to Continue the Loop Hike (to Trails #2 & 3).
-
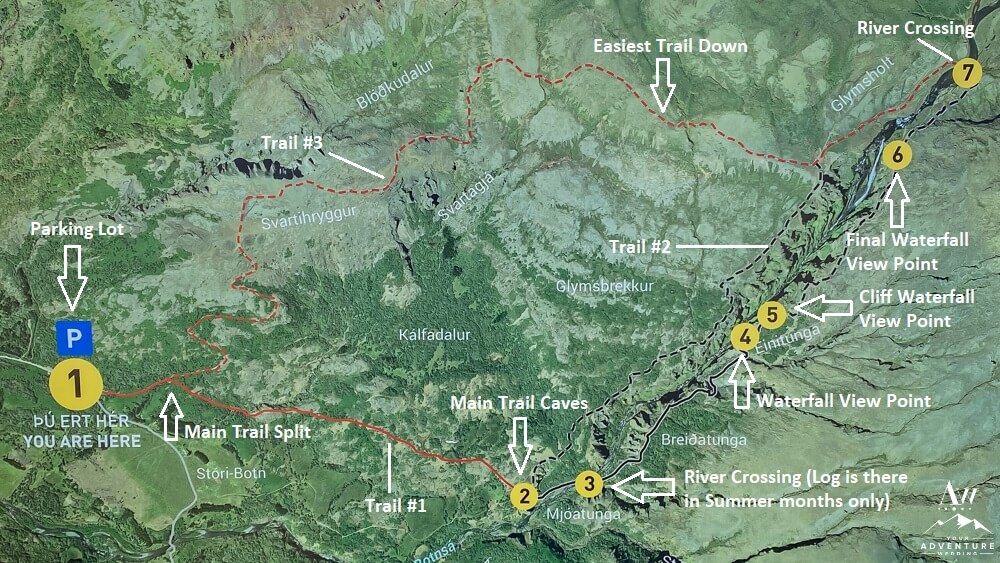
- Glymur Waterfall Hiking Map
Meanwhile, please follow this step by step guide and photo tour of the hike to Glymur Waterfall…
Hiking Directions to Glymur Waterfall:
-

- Gate to begin the hike to Glymur Waterfall.
-

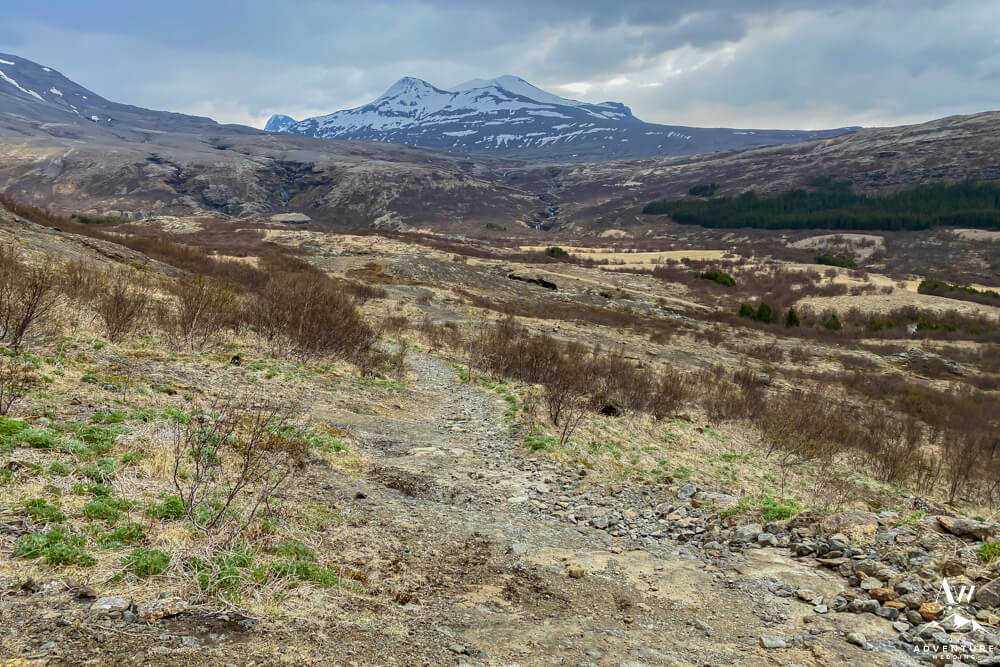
- Path starting point.
-

- Path begins wide.
-

- The path becomes rocky.
-

- Small river crossings at the beginning.
-

- Looking back on the first river crossing.
-

- Trail marker for Glymur Waterfall trek.
-

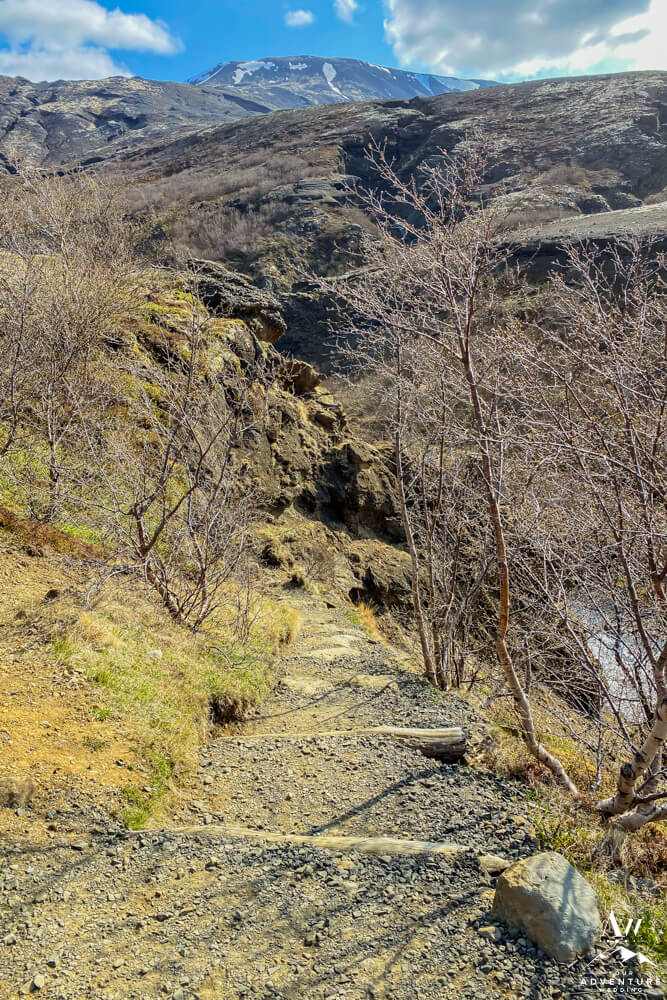
- Rocky trail conditions.
-

- Second river crossing.
-

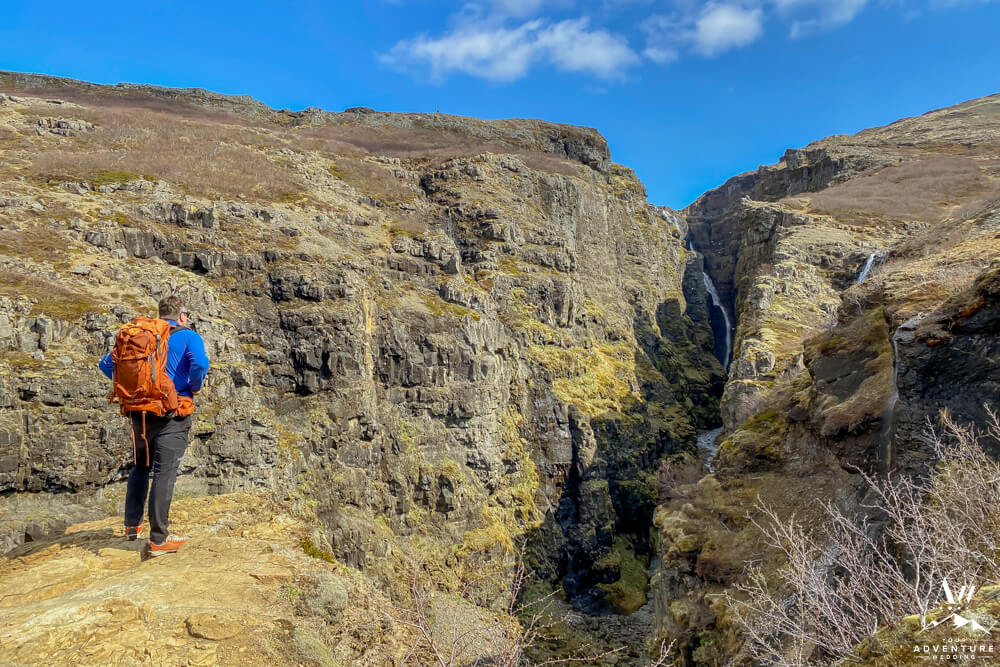
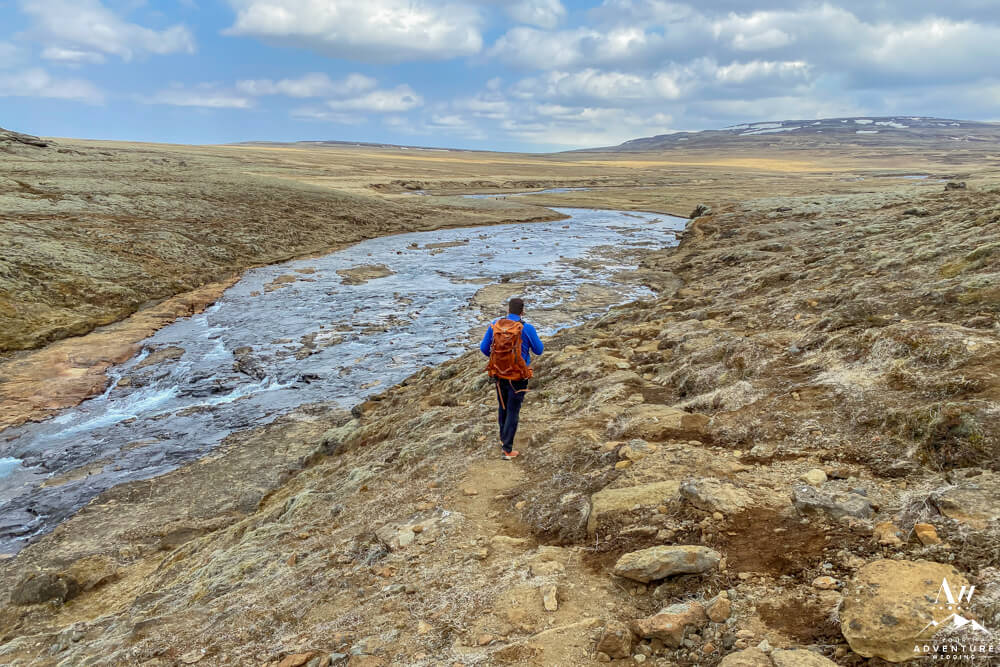
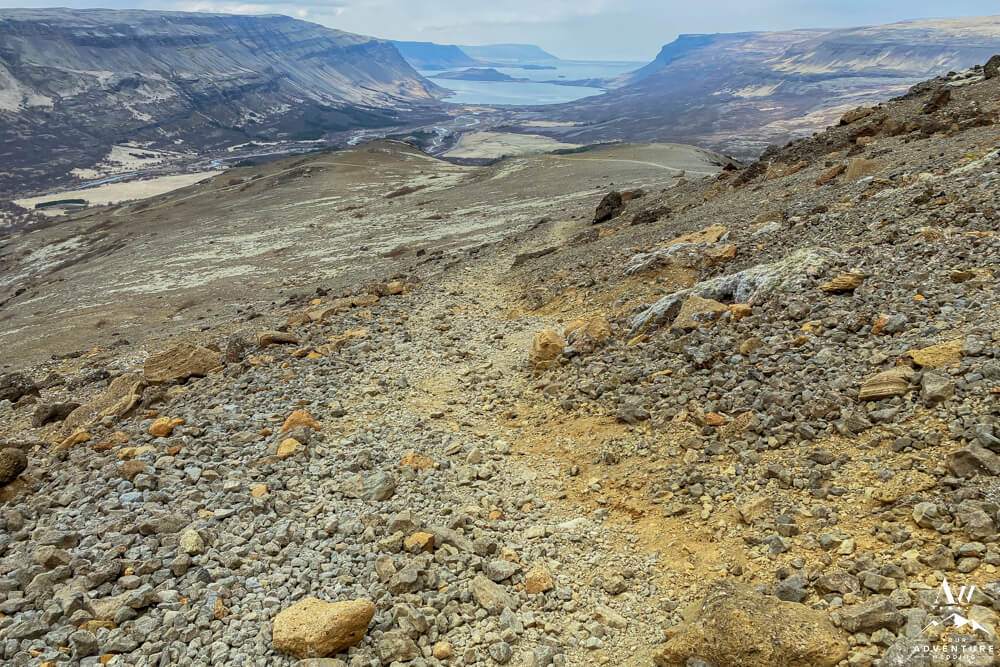
- Heading up the mountain now.
-

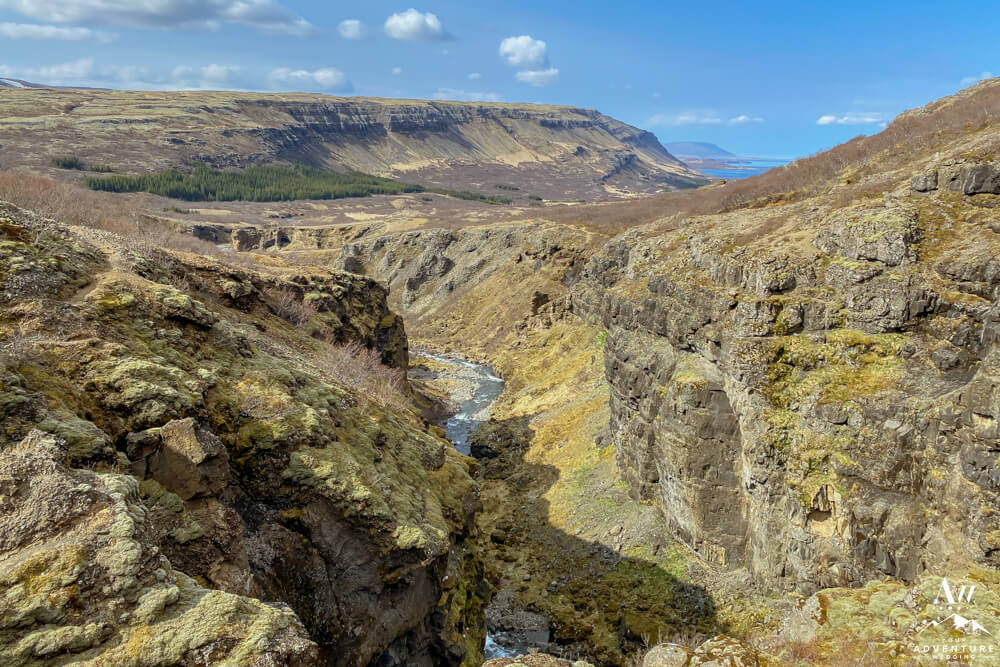
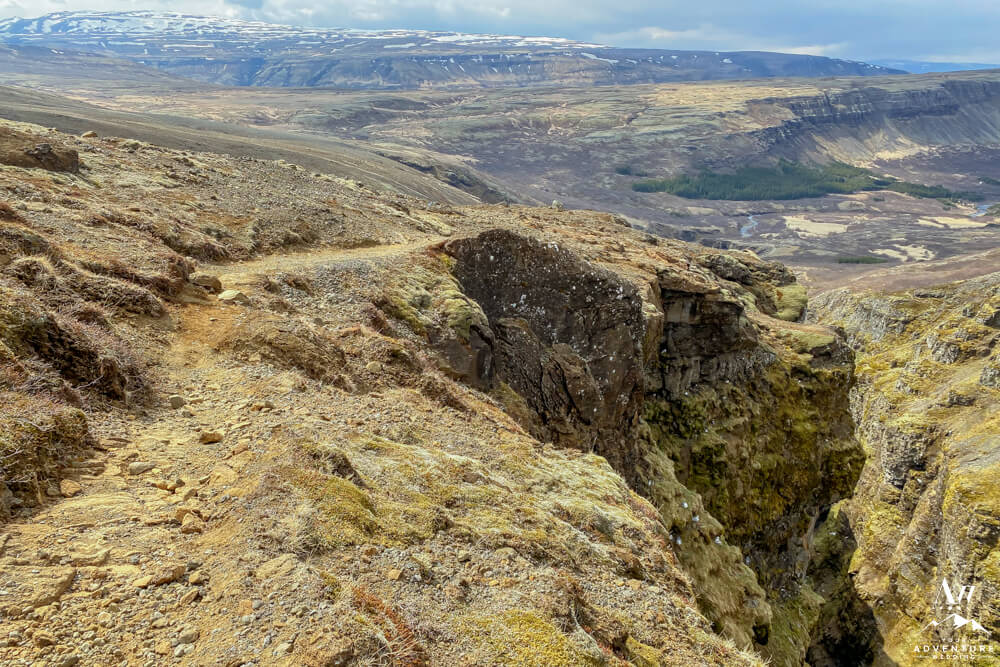
- First mountain brings you to this view looking towards the canyon Glymur comes out of.
-

- Hiker overlooking the Botnsdalur valley.
-

- Botnsdalur Valley lookout point (right before the cave).
-

- Cave Sign / Entrance Point
-
- Steps down to the Cave entrance.
-

- Manmade steps on Glymur hike.
Trail Marker #2: Þvottahellir Cave
-

- Þvottahellir before Glymur Waterfall
-

- Þvottahellir openings (Point #2)
-

- Hiker standing in the final cave opening.
-
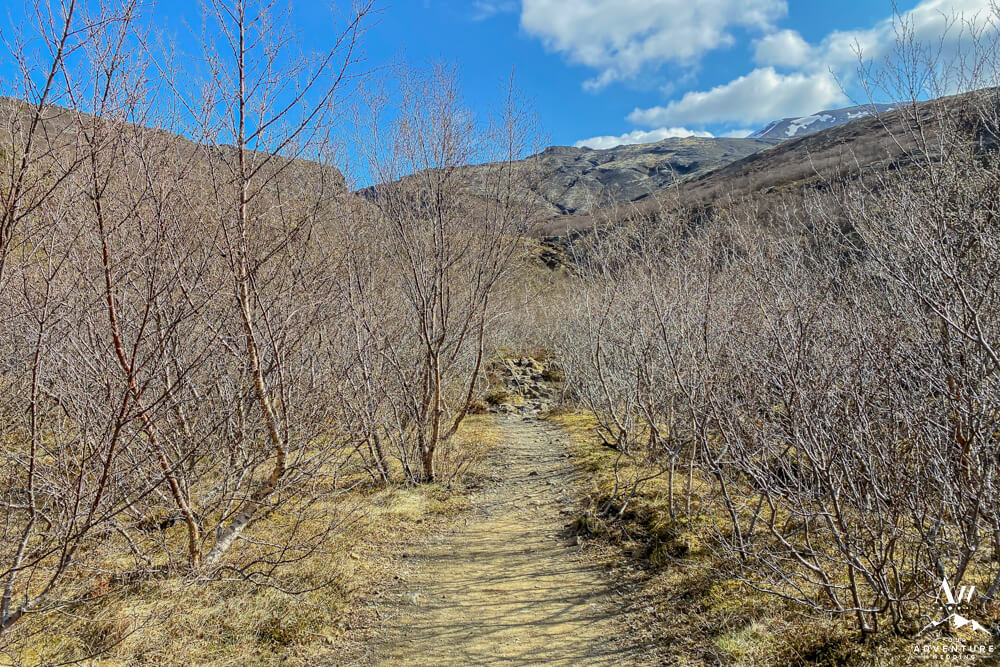
- Hiking through an Icelandic forest after the caves.
-

- Looking back at the cave.
-
- Hiking through Icelandic forest.
-

- Trail marker for Point #3
Marker #3: Log River Crossing:
-

- Looking back towards the caves.
-
- Hiking through an Icelandic forest after the caves.
-
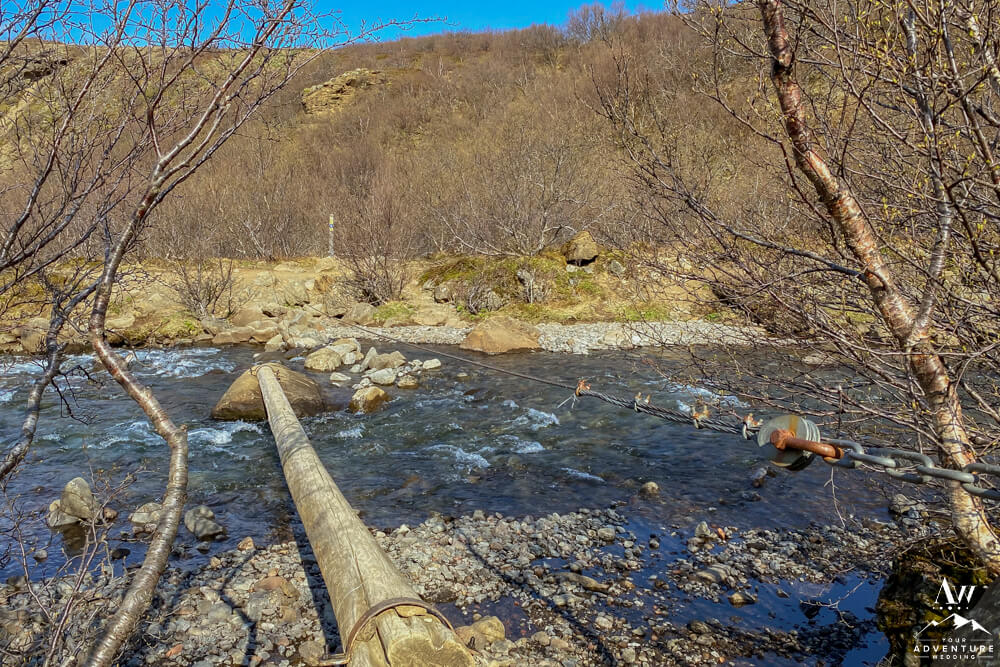
- Point #3: River Crossing.
-
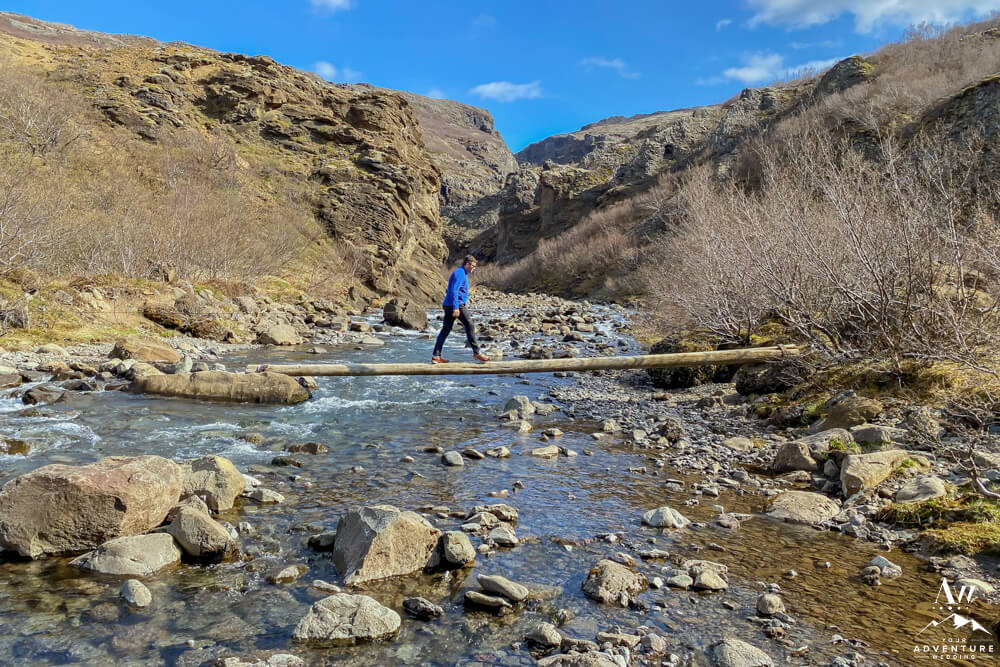
- Hiker Crossing the River in late May.
-
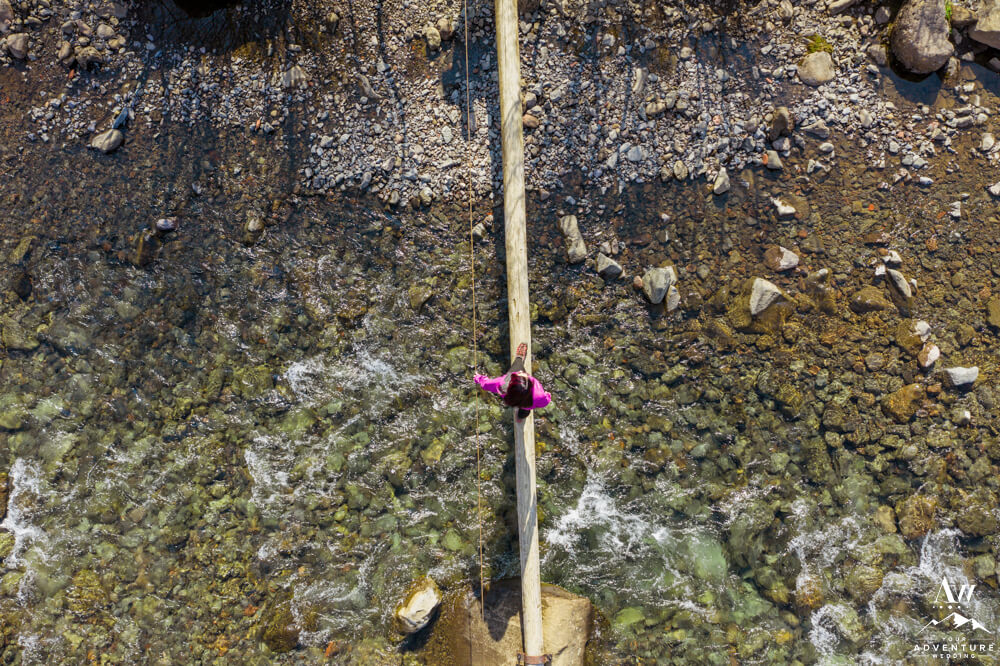
- Drone shot of hiker crossing the log.
-

- Overview of the Point #3 River Crossing.
-
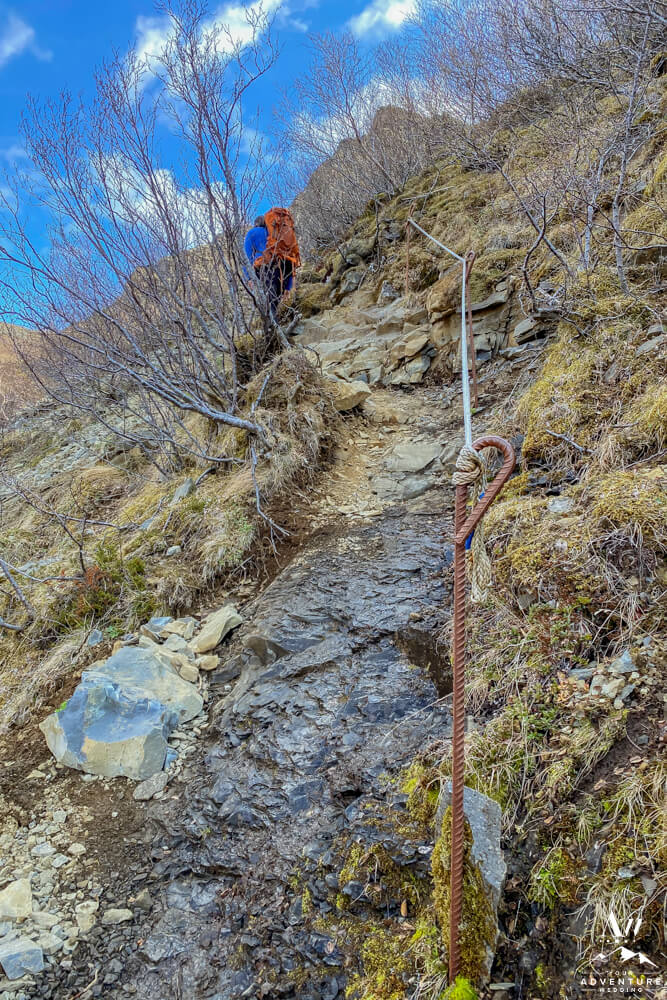
- Immediately following the Point #3 river crossing it’s all uphill.
-

- There are ropes to help you up the steep parts.
-
- After the tough uphill section it will flatten out a tiny bit for a viewpoint (not marked).
-

- Beautiful views, enjoy it!
-

- Additional viewpoint is above too, check it out!
-
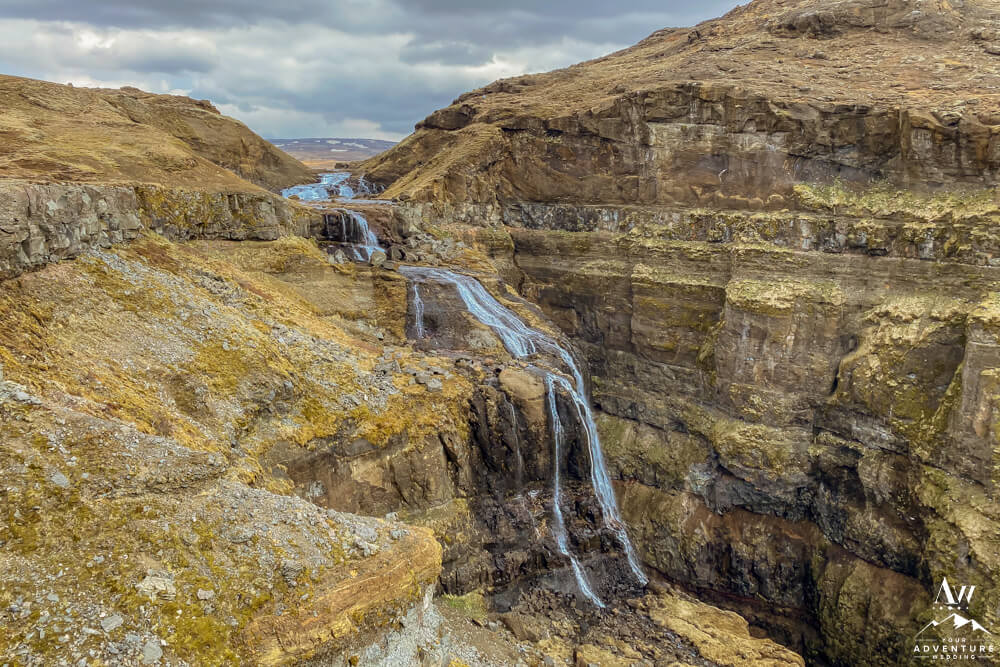
- At this point you begin to see Glymur Waterfall better.
-

- Small waterfalls all over if it had been raining that week.
-

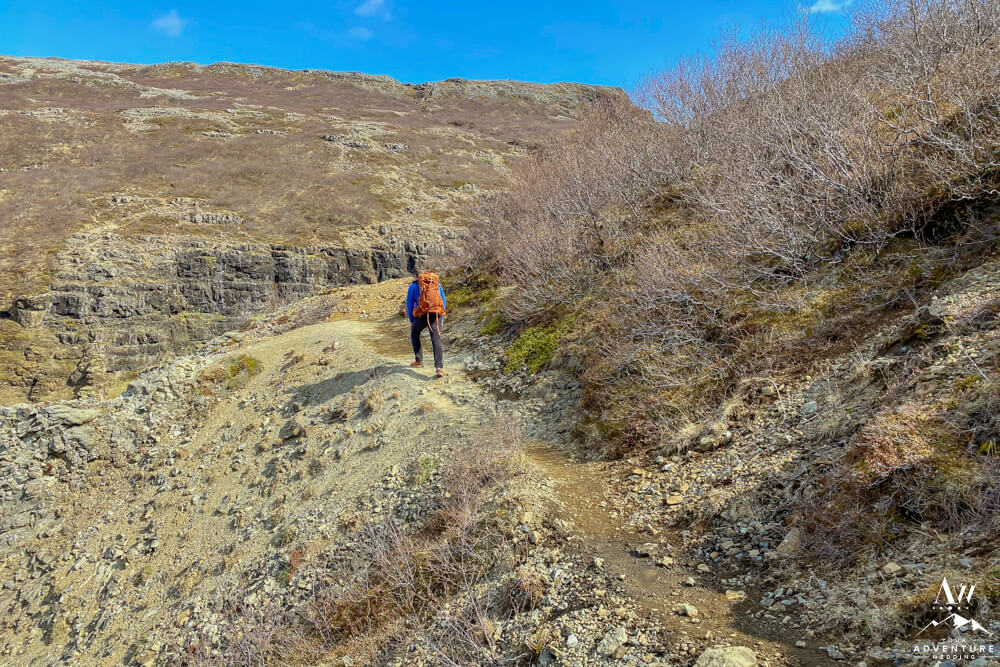
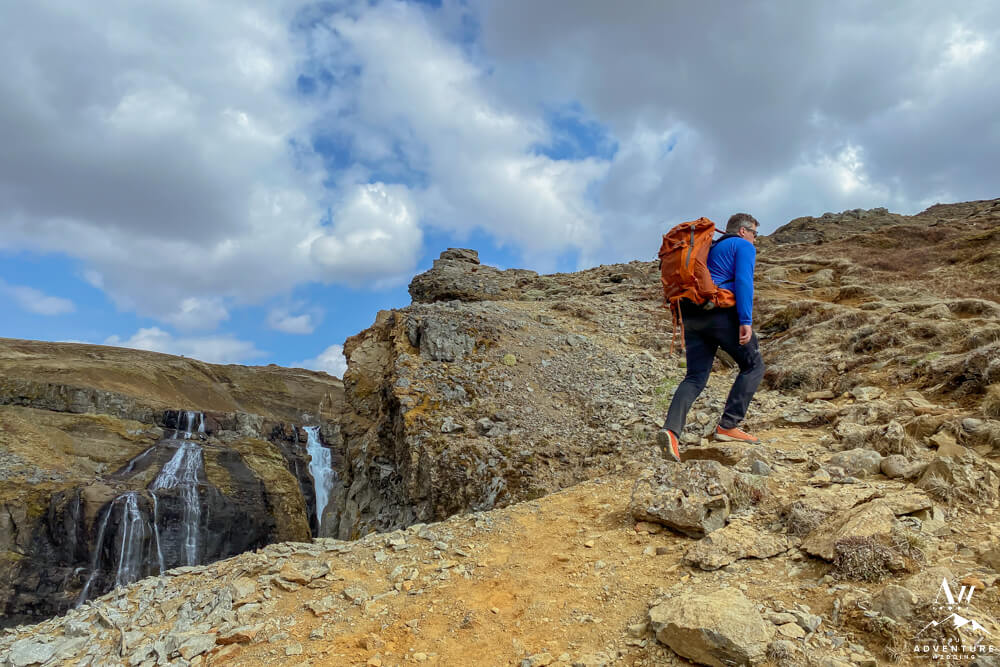
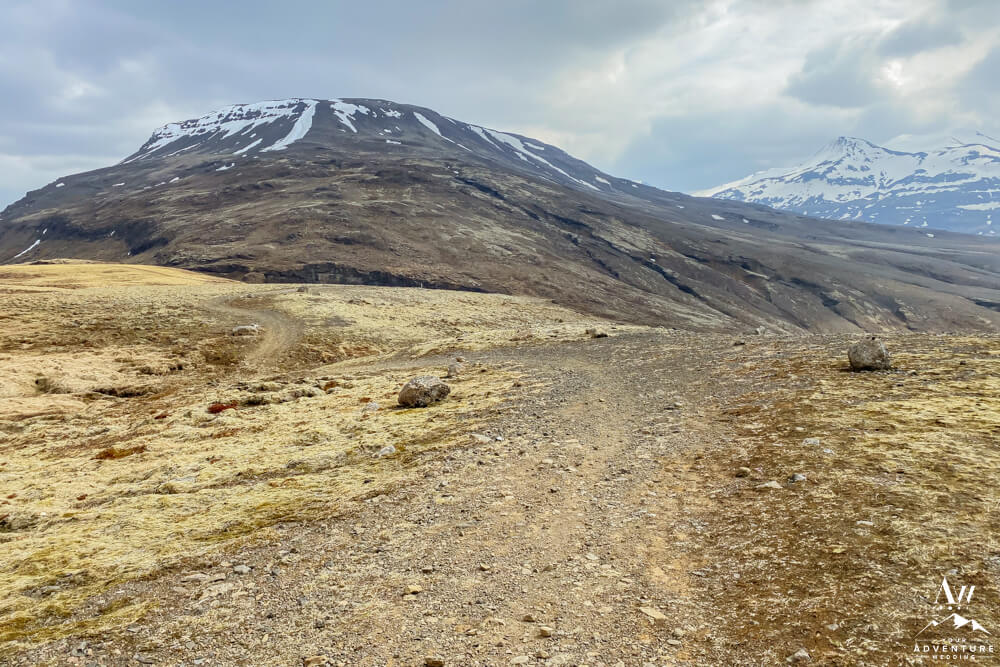
- Continuing on you go up the mountain!
-

- Another point you can refill your water bottle as you continue up.
-

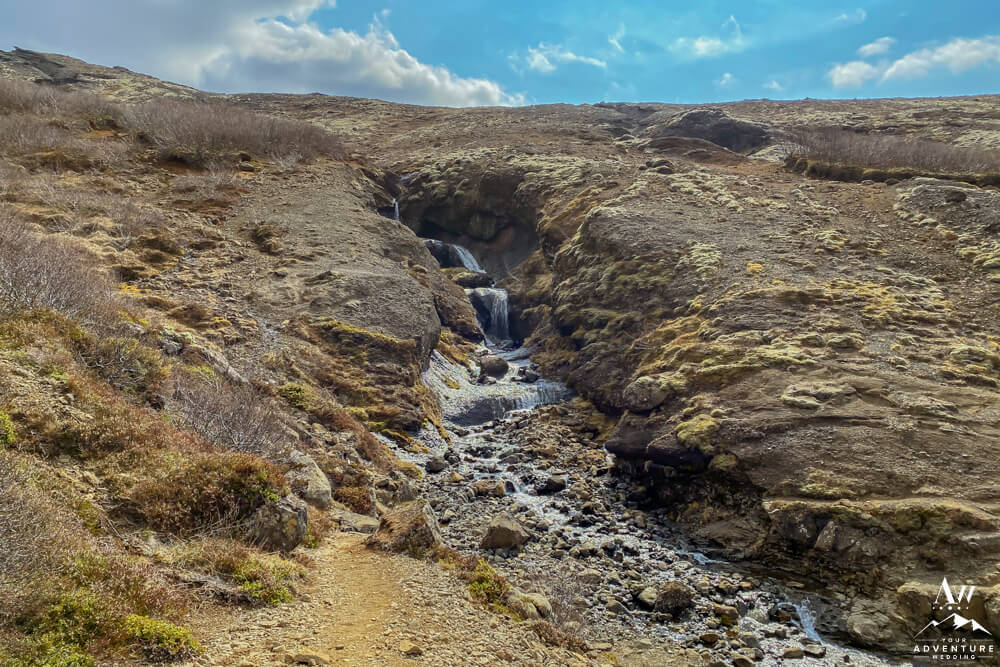
- Small rocky waterfall on the way!
-

- All up hill from here!
-
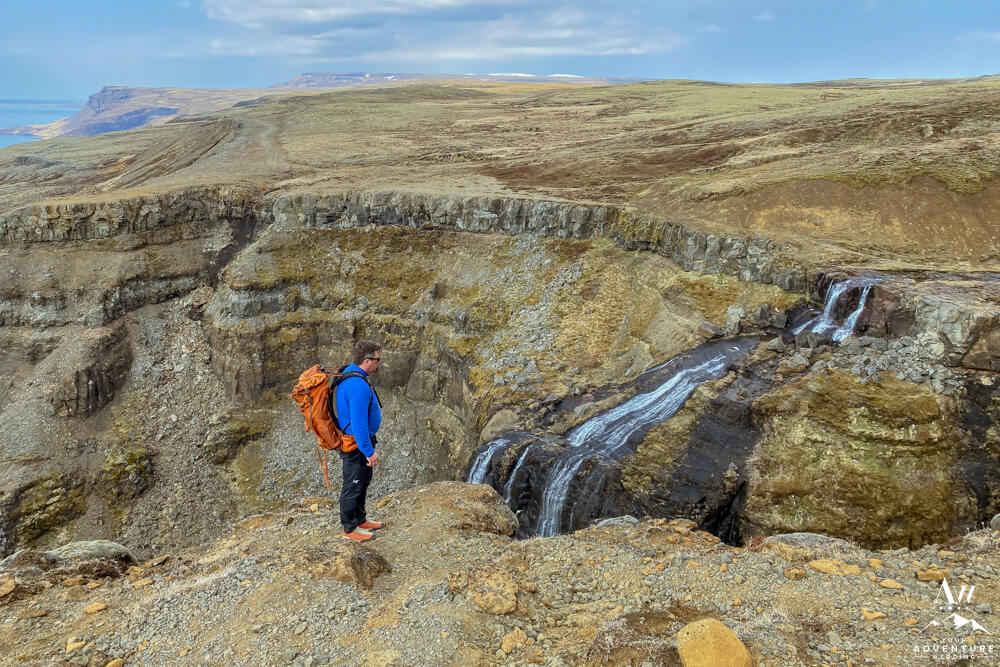
- Lovely fjord view from this point up!
-
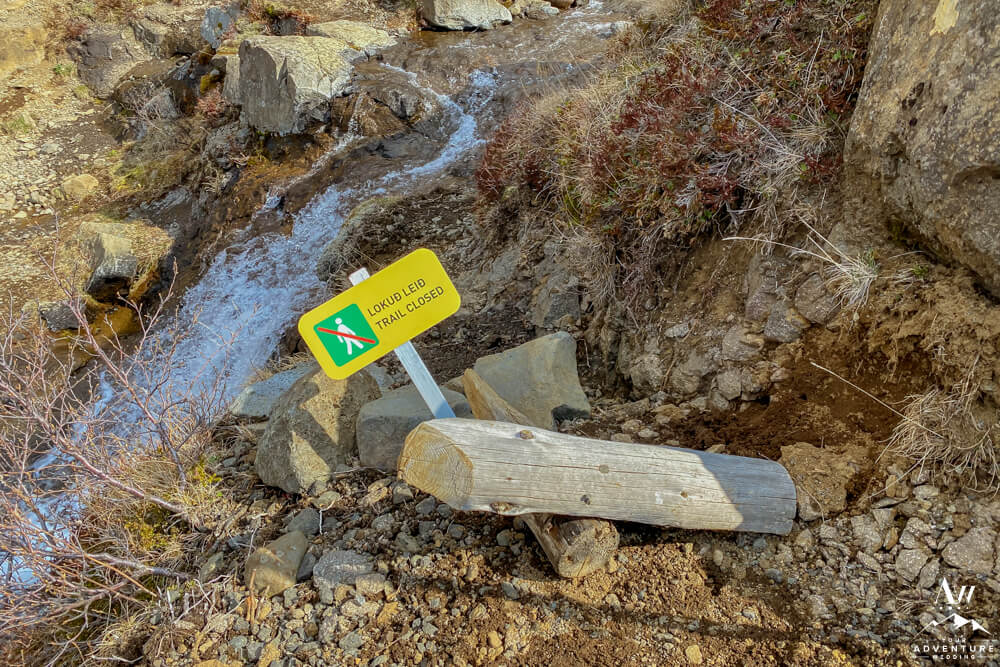
- Stay on the path and pay attention to signs.
-
- Another small waterfall to fill your water bottle at!
-

- Heading up towards Point 4.
Welcome to Point #4: Glymur Waterfall Viewpoint!
-

- Welcome to Point #4!
-
- This is the point most people turn around.
View Point #5
-

- Adventuring further up the mountain!
-

- Trail marker sign heading to Point #5.
-

- Point #5: Lookout
-

- Hiking further up on rocky steps!
-

- Again, please make sure you respect the signs!
-

- Interesting rock formations further up the mountain on the way to Point #6.
-

- Gorgeous views as you look back on the trail.
-
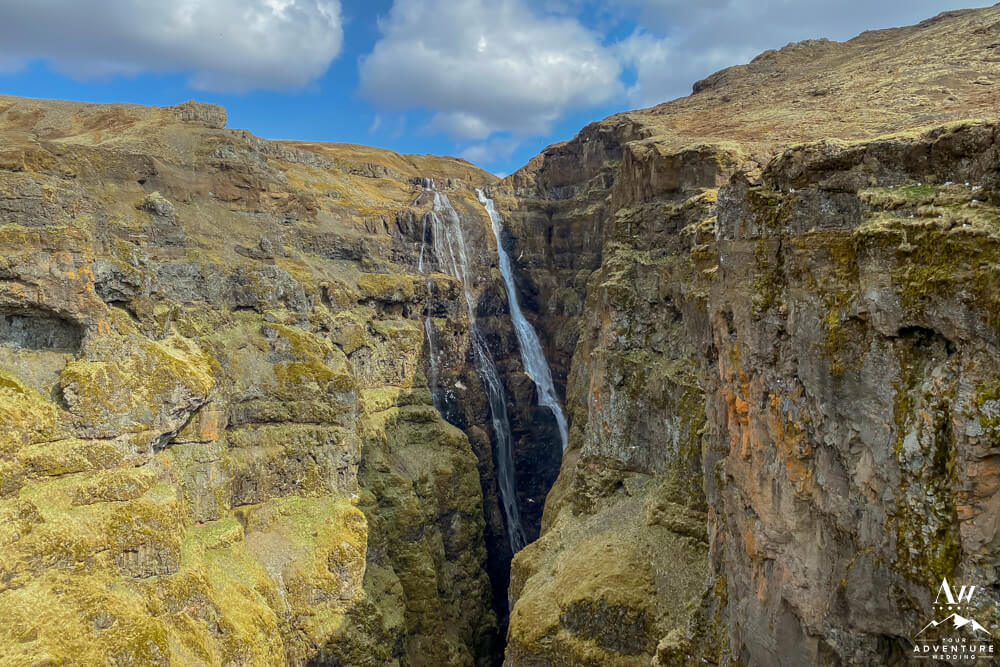
- Looking towards Glymur Waterfall.
-
- Back view of the main trail.
-
- Heading towards view point #6.
-

- High Five! You made it!
-
- Welcome to Point #6!
-
- Love this view!
-
- Point #7: River Crossing (on your own too feet). Note: The water can range from ankle deep to knee deep so you may want to take your shoes off to wade through!
-

- View back towards the top of the waterfall.
-

- Pick your river crossing point where you feel comfortable!
-

- Terrain heading into the river.
-

- Start of Trail #3.
-
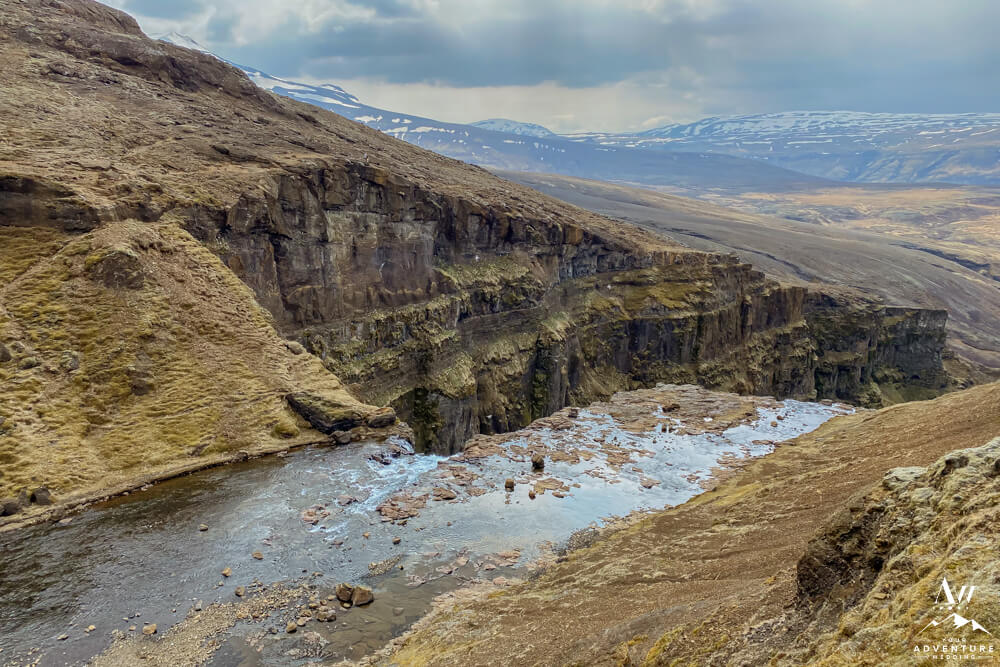
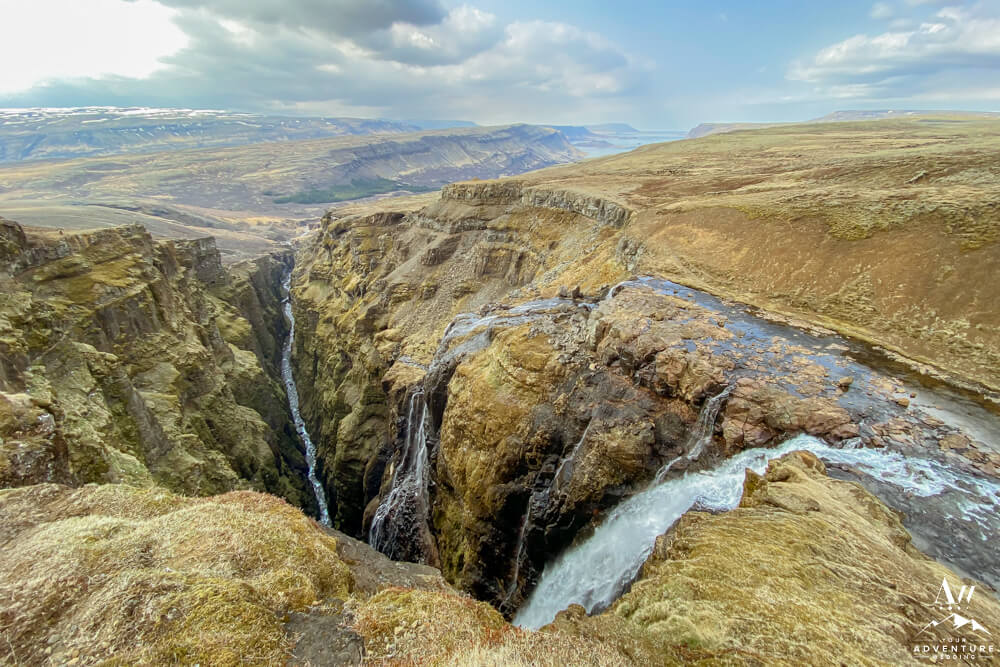
- The textures on the canyon walls from this side are incredible!
-

- First waterfall you view from the Trail #3 top (heading down).
-
- Glymur Waterfall from the top of Trail #3.
-

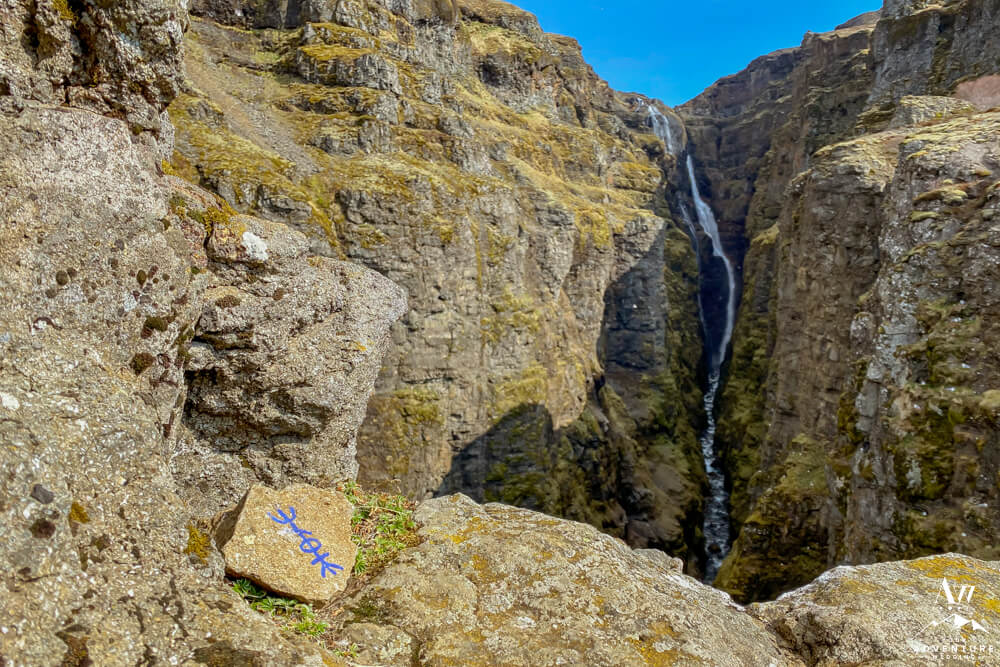
- Follow these blue “P” trail markers down if you wish to go the easiest way down.
-
- Note- The road is wide and rocky to start. This view is looking back on the trail towards the waterfall
-

- Then the road narrows as you head down.
-

- You have this fjord view the entire time down.
-
- Trail #3 route eases you down versus the steepness of Trail #1. Nice way to go down.
-
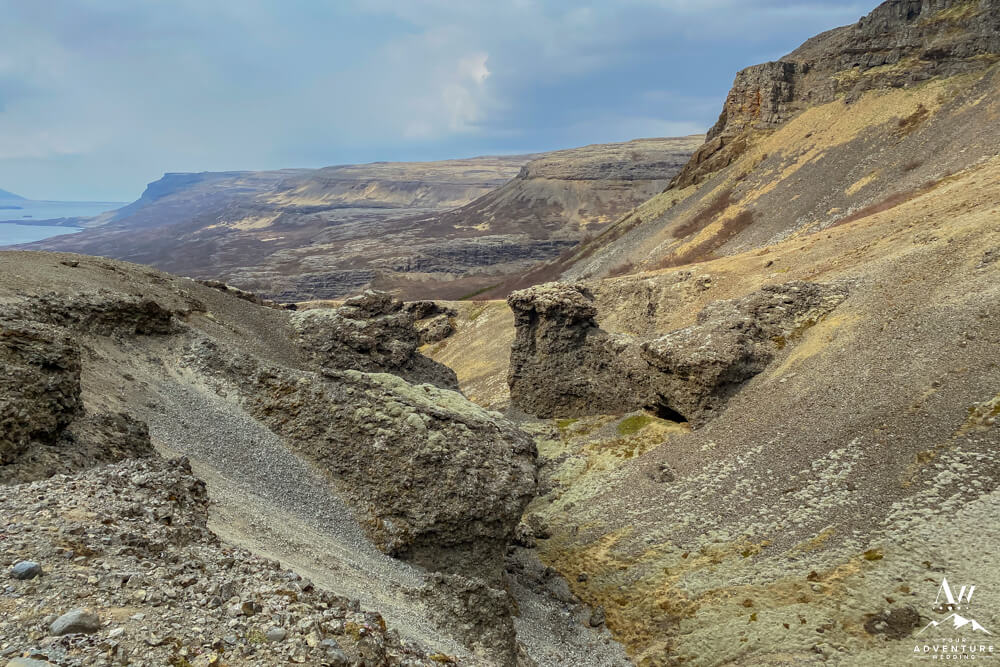
- Sweet little canyon you’ll find to the right as you head down Trail #3.
-
- Almost back to the parking lot, Bravo!
Planning a Glymur Waterfall Wedding
Utterly inspired after this Iceland Wedding Planner monthly hiking post? Maybe even want to elope at this super tall waterfall?! Although it is totally possible, it does require getting in advance permission from the landowners and possibly paying a fee. Which can easily be done through a local Iceland elopement planner.
In conclusion, our team does not plan elopements or adventure weddings at tourist locations like this. As we would rather introduce you to places that will not have any tourists infringing on your once in a lifetime moment. Sound like fun? Lastly, please contact us to get that fabulous conversation started!
Curious to embark on more hikes in Iceland?
© 2021, Photos by Miss Ann (DBA Iceland Wedding Planner / Your Adventure Wedding), All Rights Reserved.